The assembly instructions were all written on the underside of the cardboard packaging and we're extremely straightforward.

First things first....slot the 5 legs into place. There are no screws, no nuts or bolts, just 5 study plastic legs that slot firmly into the bottom of the collecting tray. Simples...

Then screw in the non-drip tap. You can see the worm refuge mound inside the collection tray. If the worms should happen to fall through the bottom of one of the working trays then, in theory, they should be able to wiggle out of the liquid (leachate) that has collected and up the refuge mound allowing them to get back to the working tray!

Then fold the cardboard packaging and place it in the bottom of the first working tray. The can of worms is a 2 working tray system but until your worms having been at work for several months you don't need the second working tray so i've stored it safely in the garage. It's a bit tricky as the packaging is just a little bit too big to fit in easily but it's nice to know that all the packaging is biodegradable and, what's more, it's also tasty worm food (apparently)

So, now the worm farm is built and good to go, it's time to add the worm bedding block. It's basically compressed coconut fibre (coir) and once it's rehydrated in water it creates a nice dark, damp environment for the worms to live in.

Being a naturally inquisitive (nosy) person, I couldn't resist opening the wrapper to see what the bedding block actually looks like.

The instructions seemed fairly easy to understand; fill a clean bucket with 6-7 litres of cold water (I split the difference and went for 6.5 litres), put the bedding block in as it is and then sit back and wait....


A good 5 minutes into the suggested 15 minutes time that the coir should take to fully expand and rehydrate and nothing much had happened. The coir block was still bobbing around in the water and the only sign of anything happening was the paper wrapping beginning to soak off.
But, patience (and a bit of mixing) soon paid off and the bedding block began to absorb the water and expand.

I ended up letting the bedding block soak for almost half an hour and even after that time it was still pretty wet. I think that the 6-7 litres suggested is perhaps a bit too much and if I was going to repeat the process, i think i'd maybe start with 5 litres of water and add more if necessary.

Its at this stage that I realised why layering the cardboard packaging at the bottom of the working tray is such a sensible idea. The bedding stayed on top whilst all the excess liquid dripped thorough to the collection tray beneath.

I spread the bedding out across the full surface of the first working tray and thats the set up complete. 40 minutes work from start to finish. And it could have been less if i'd assembled the worm farm itself whilst i was soaking the bedding. I did one after the other as I wanted to watch what happened to the bedding. For some reason, I assumed that it would expand into a single coir bedding mat rather than crumbly, soily matter.

So, on to the star attraction - the WORMS!!!! The worms that I got with my worm farm are all Dendrobena Veneta also called Eisenia Hortensis, a popular variety of compositing worm. I've got 500g for my worm farm and if what they say is true and these guys do eat half of their body weight in food each day, then by my calculations they should be able to get through over 1.5 kg a week!!!!

I spread the worms (and a little bit of the lovely rich worm cast that they were sent in) over the top of the worm farm and left them to settle in.

At this stage, the instruction booklet recommends using a hessian mat or damp cardboard to cover the worms to help replicate their natural environment, however - with my worm farm bundle, I got a Tumbleweed worm blanket which is made from jute.

Again, the instructions were clear and simple; make sure the worm blanket is thoroughly moistened and then....

Cover the worms up! Their natural habitat is just underneath the surface of the soil under a cover of leaf litter so the worm blanket can mirror those conditions in your worm farm

The worms were clearly impressed because they soon burrowed down into their bedding block.

The worm farm was then put in place, in a fairly shaded and protected corner of the garden (somewhere out of direct sun and wind but with relatively easy access to the house so that feeding the worms never becomes a chore) and left to settle for a few days.
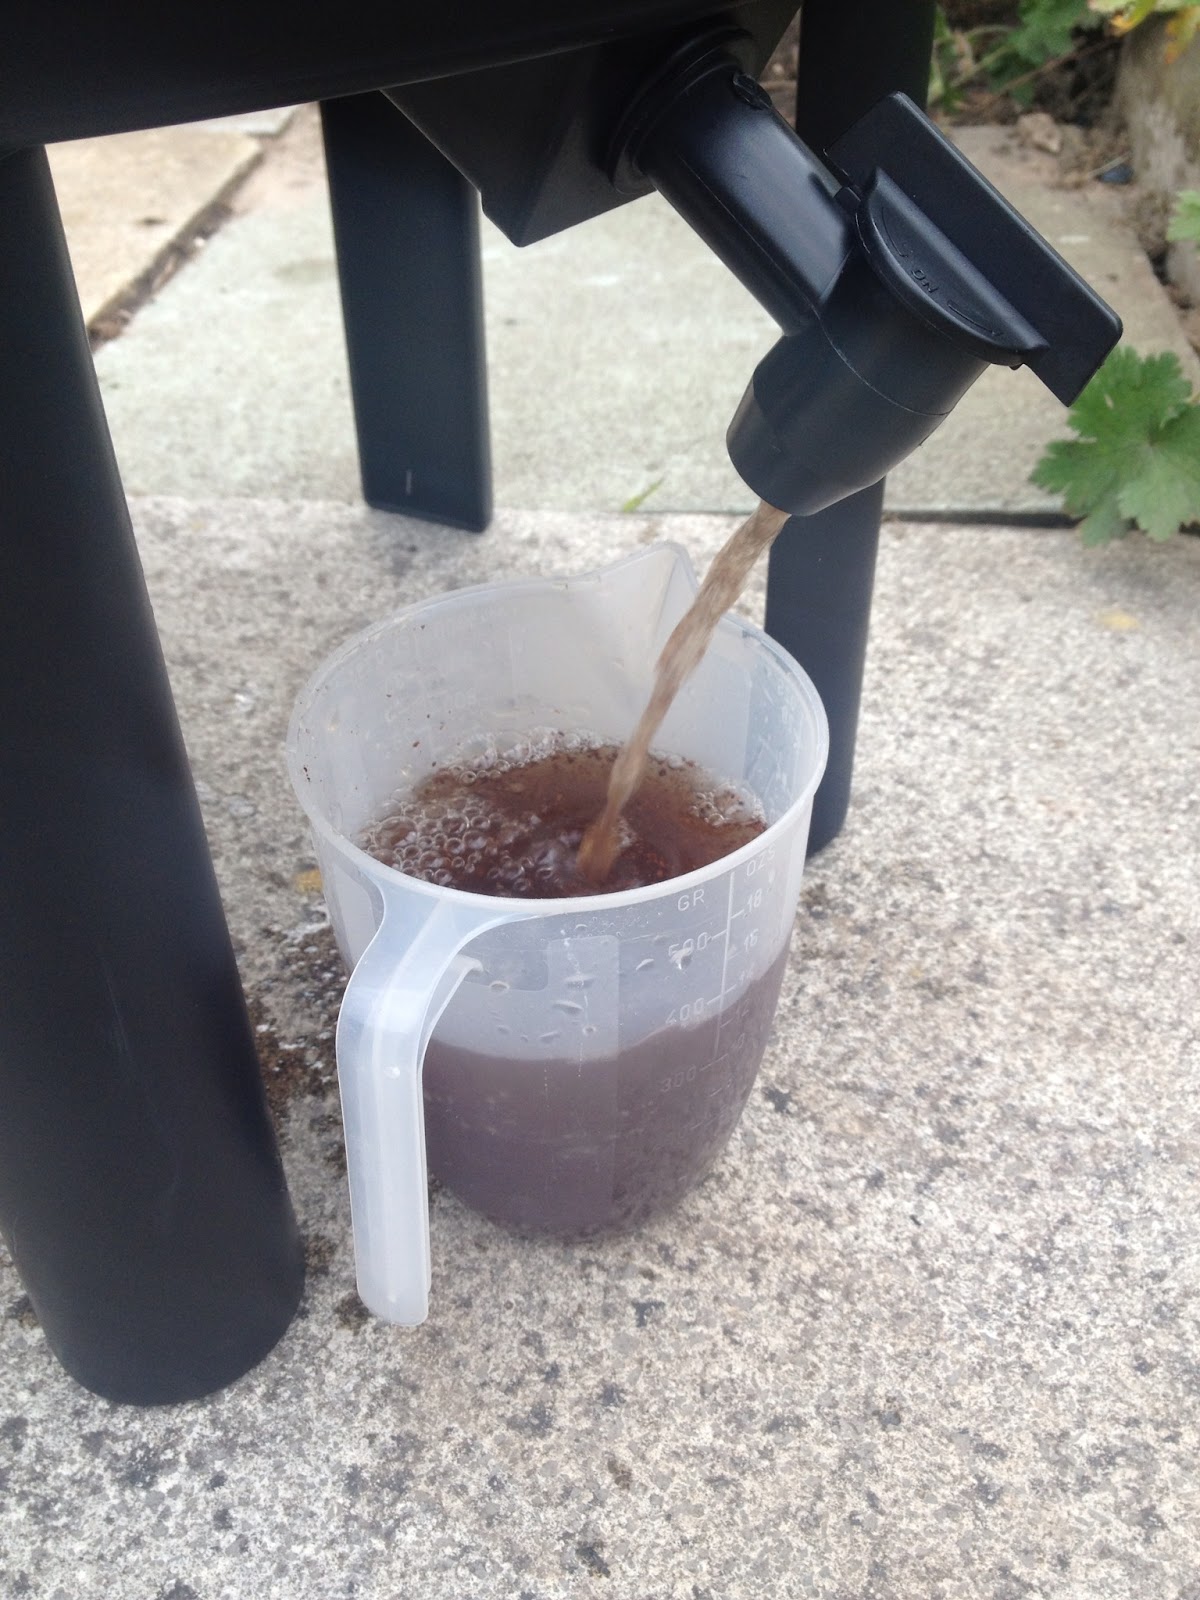
Out of curiosity, i turned the tap on to drain the excess liquid off (to see how much hadn't been absorbed by the bedding block) and i drained almost a litre off so I would definitely recommend starting with 5 litres of water and adding more if necessary.
That's that then - the worm farm is good to go, I'm going to give the worms 3 days to settle in and they'll get their first proper meal on Saturday.
No comments:
Post a Comment